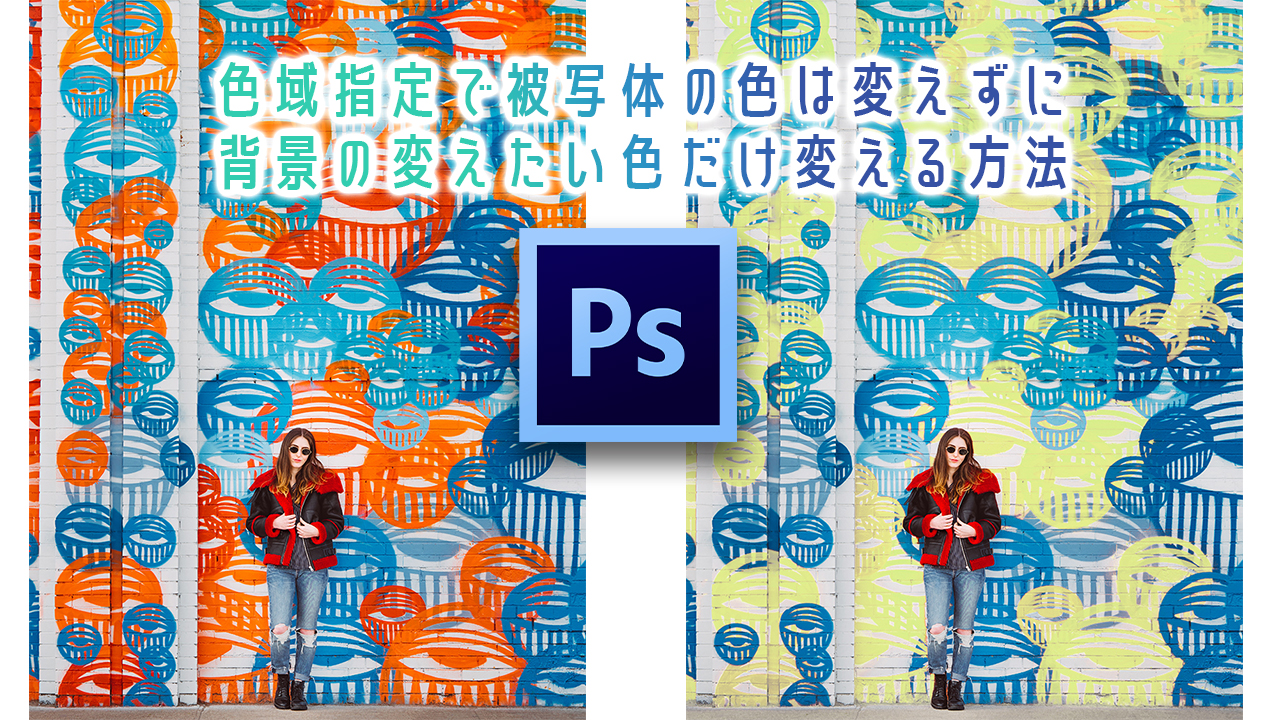
被写体をもっと引き立たせたいときに使える技。鏡を使う隣のように、被写体の着ているジャケットの色と、背景の色が近い場合に使える。
手順
- 色を変更したくない部分を選択
- 選択範囲を反転させる
- 色域指定で変えたい色を選ぶ
- 色調補正で色を変える
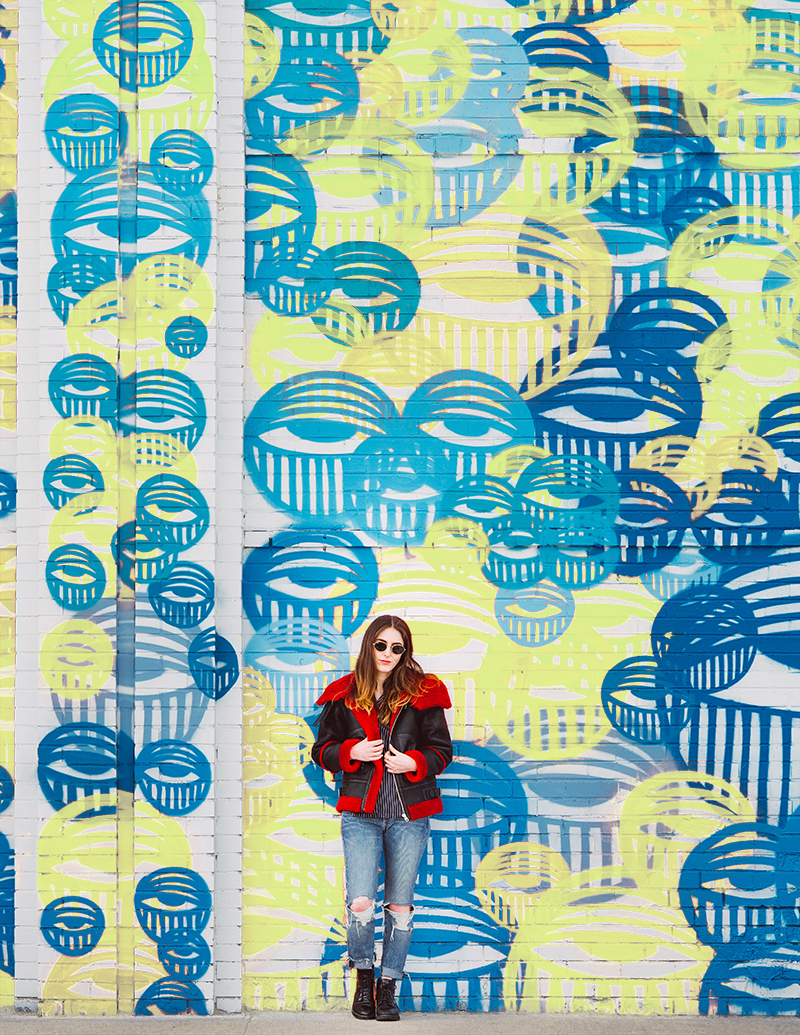
素材と完成品を見比べてみよう
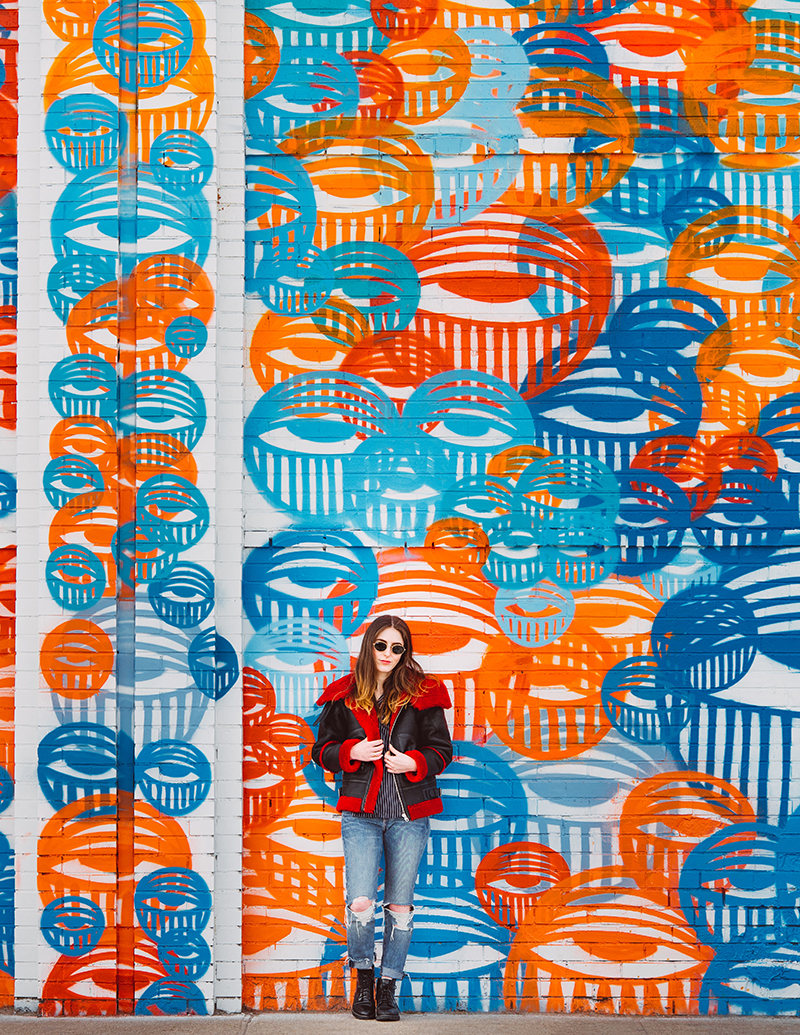

https://unsplash.com/photos/ZnwP4M-m1e0
unsplash.com
今日使う英単語とショートカットキー
| English | 日本語 | ショートカットキー |
| Select | 選択範囲 | |
| Color Range | 色域指定 | |
| Object Selection Tool | オブジェクト選択ツール | W |
| Inverse | 選択範囲を反転 | Ctrl+Shift+I |
| Fuzziness | 許容量 | |
| Adjustment | 色調補正 | |
| Hue/ Saturation | 色相・彩度 |
コメント 作品をシェア!